WordPress is the world’s most popular Content Management System (CMS), powering over 40% of all websites on the Internet. it is widely adopted due to its flexibility, ease of use, and strong community support.
In this guide, we’ll walk you through the steps to install WordPress for a website hosted on NameCheap’s server.
Prerequisites:
Before proceeding with the installation, ensure the following:
- Domain Name and Hosting Package: You have already purchased a domain name and hosting package from NameCheap.
- Domain Added to Hosting Server: Your domain is linked to your hosting account. (if not, follow this guide)
- cPanel Login Credentials: You have received your hosting account details via email, including your cPanel username and password.
With these prerequisites in place, you’re ready to begin the WordPress installation process.
1. Sign in to NameCheap cPanel
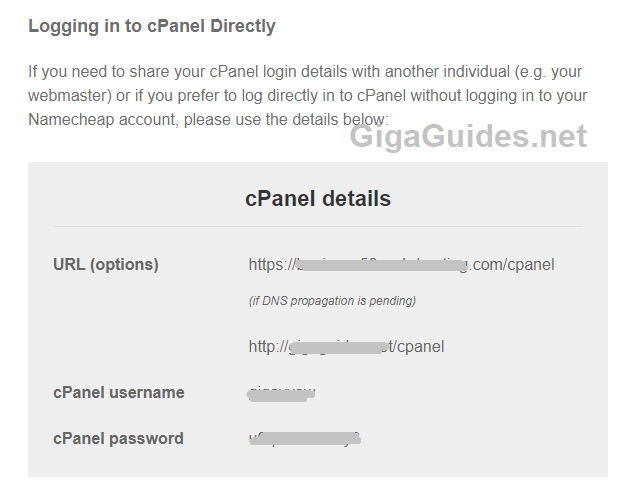
The first step is to sign in to the cPanel of your hosting account. Open your email inbox and locate the email titled “Your Hosting Account Details” sent by NameCheap when you purchased your hosting package. In this email, look for the cPanel login information, including the URL, username and password, in the cPanel details section as shown below:
For the first time, you need to use the first URL (if DNS propagation is pending). In your web browser, type the URL, the cPanel login page appears as follows:
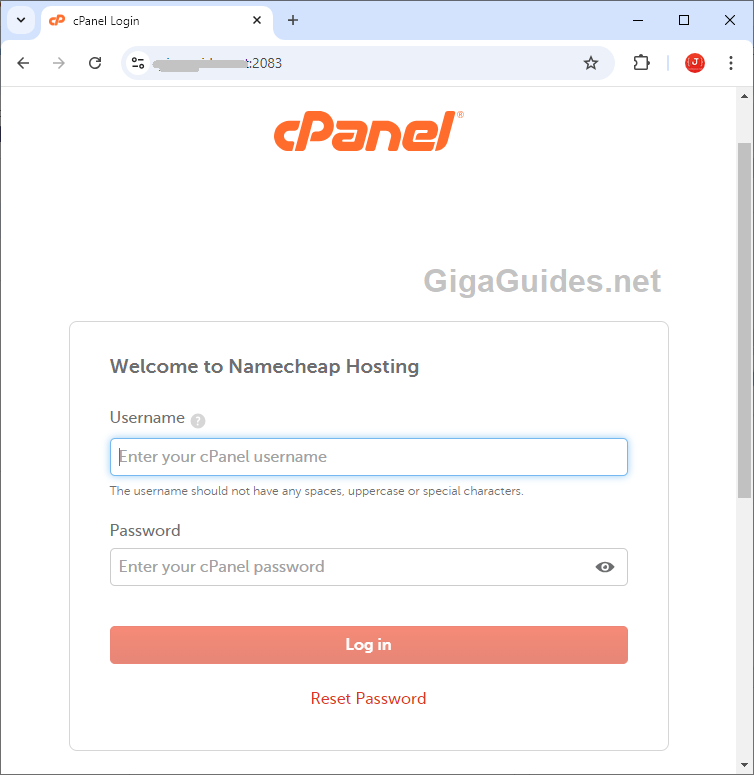
Enter your username and password, then click Log in to access the cPanel. From there, you can proceed with installing the WordPress CMS for your website.
2. Choose WordPress auto installer
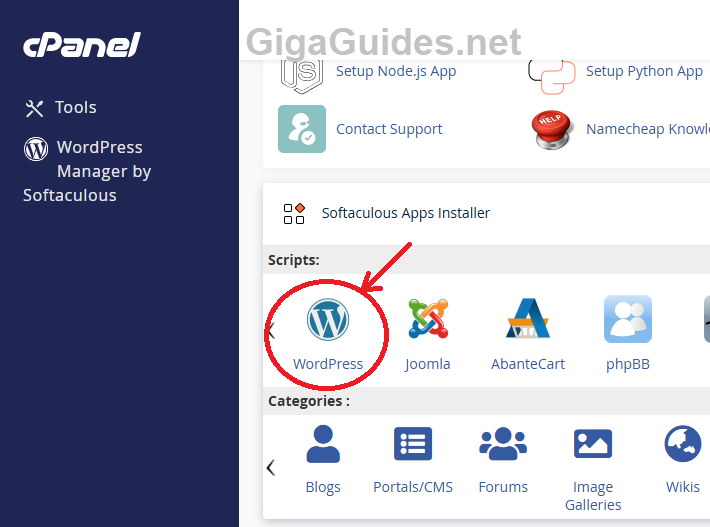
On the cPanel home page, click the WordPress icon under the Softaculous Apps Installer section:
The next page will display an introduction WordPress CMS, including an overview, features, screenshots, demo, ratings, and more. Click the down arrow on the blue Install button, then select Custom Install, as shown below:
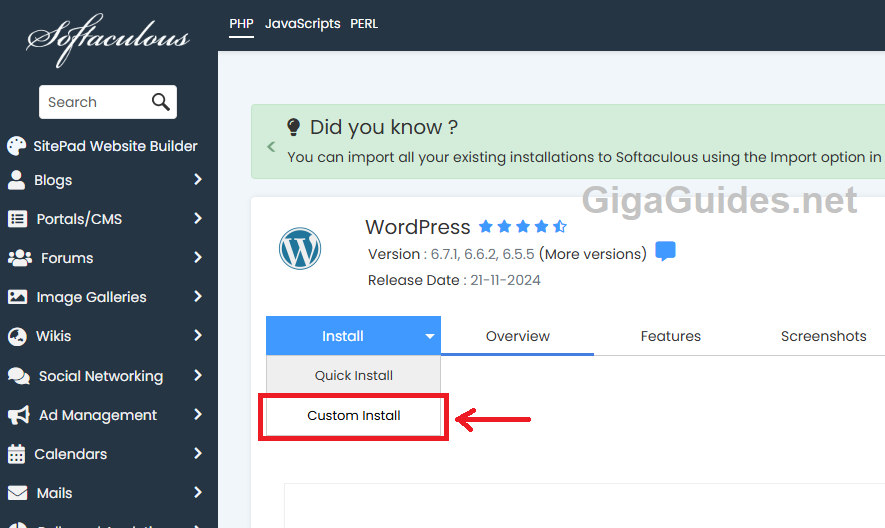
I recommend choosing the WordPress Custom Install to avoid unnecessary plugins that NameCheap includes with the Quick Install option. Keep in mind that you can always add plugins later through the WordPress admin panel.
3. Configure Settings for Your Website
Next, you’ll need to configure various settings for your new website, including the URL, site name, site description, admin account, auto-upgrade options, and more.
In the Software Setup section, select https:// to ensure your website uses a secure connection, as this is now a requirement for all websites. When you add your domain, NameCheap will automatically install a free SSL certificate (valid for 1-year) to secure your site.
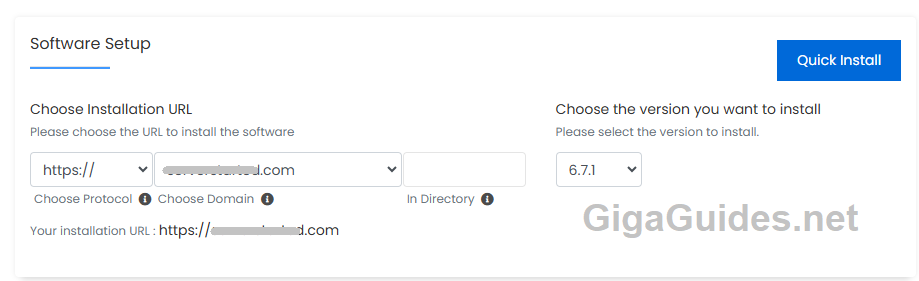
And choose the domain where you want to install WordPress from the dropdown list. If your domain is not listed, you need to add the domain name to your hosting account beforehand.
You can choose the desired WordPress version from the list on the right. By default, the latest version is selected, which is recommended for security and compatibility.
Next, in the Site Settings section, enter your website’s name and description to personalize your site:

Next, set the admin username and password for accessing your website’s administration module (wp-admin). It’s highly recommended to use a strong password, such as the auto-generated one provided. You can click the key icon to generate a new, random and secure password. Make sure you save this password in a secure location.
Note that you can update your site’s name and description later through the wp-admin panel.
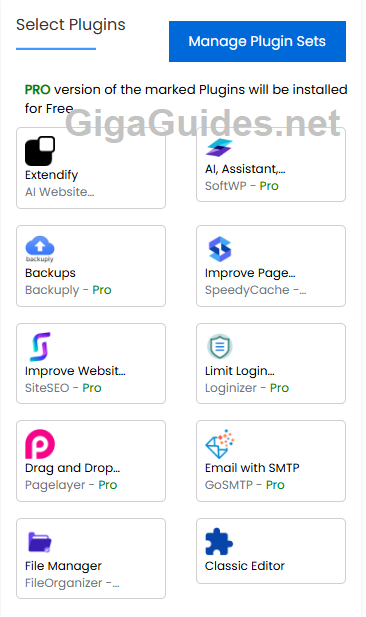
In the Select Plugins section, you’ll see some plugins are pre-selected by default. It’s best to uncheck all plugins to avoid unnecessary installations:
Next, expand the Advanced Options section to configure database, auto-upgrade options and backup settings:
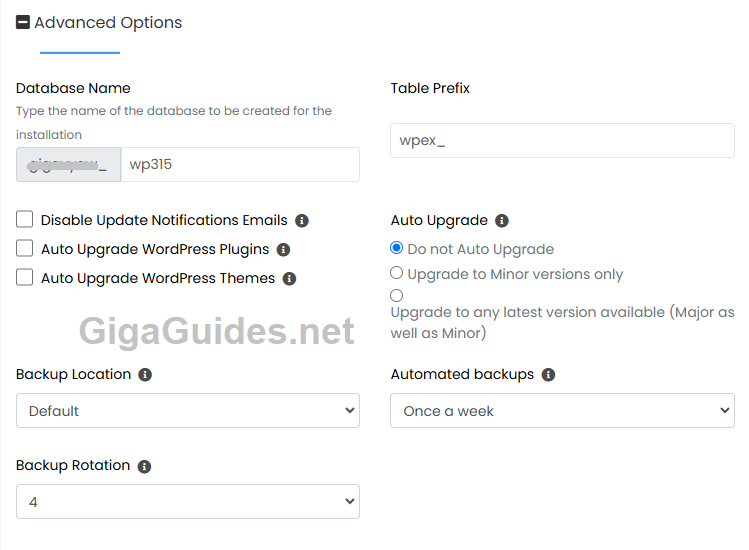
For the Database Name and Table Prefix, it’s fine to leave the default values.
In the auto upgrade settings, I recommend unchecking both Auto Upgrade WordPress Plugins and Auto Upgrade WordPress Themes on the left. Additionally, select Do not Auto Upgrade on the right. Automatic upgrades may cause compatibility issues in the future, and you can always perform updates manually when needed.
For the site backup, it’s advisable to enable automated backups. A good option is to set backups to run once a week to ensure your data is regularly protected.
Lastly, enter the email address where you want to receive the installation details:
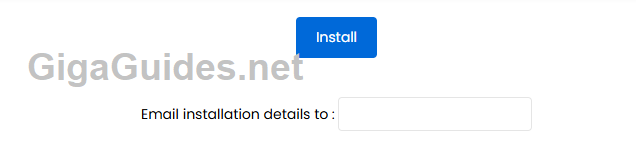
It’s highly recommended to have the installer send these details to your email for future reference and easy access when needed.
4. Install WordPress
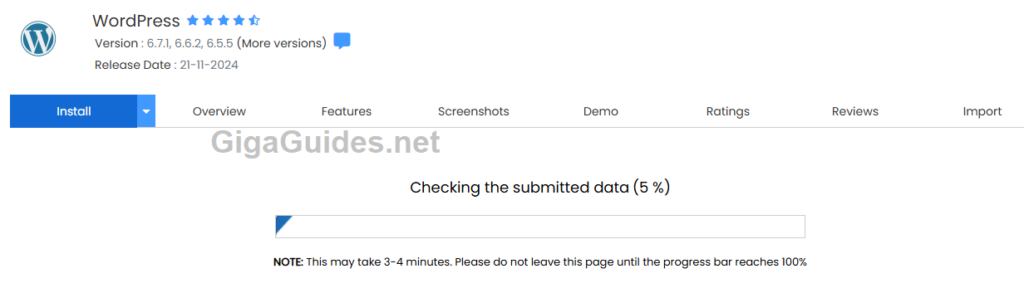
Review all the entered information carefully to sure everything is set as expected. Once you’re satisfied with the configuration, scroll to the bottom of the page and click the Install button. The installation progress will then be displayed, as shown below:
The setup process typically takes just a few seconds. Once completed, you will see a Congratulations message, as shown below:
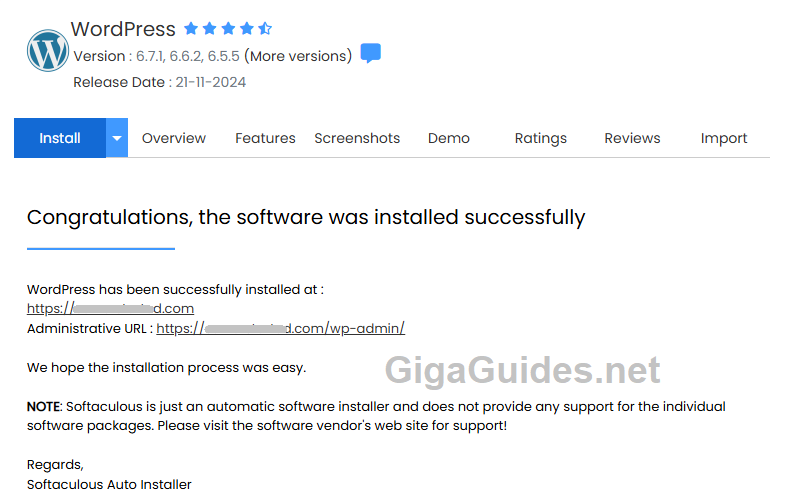
This confirms that you have successfully installed the WordPress CMS on your website. Be sure to check your email to verify that the installation details were sent by the system for your reference.
5. Test Your Website’s Home Page and Admin Panel
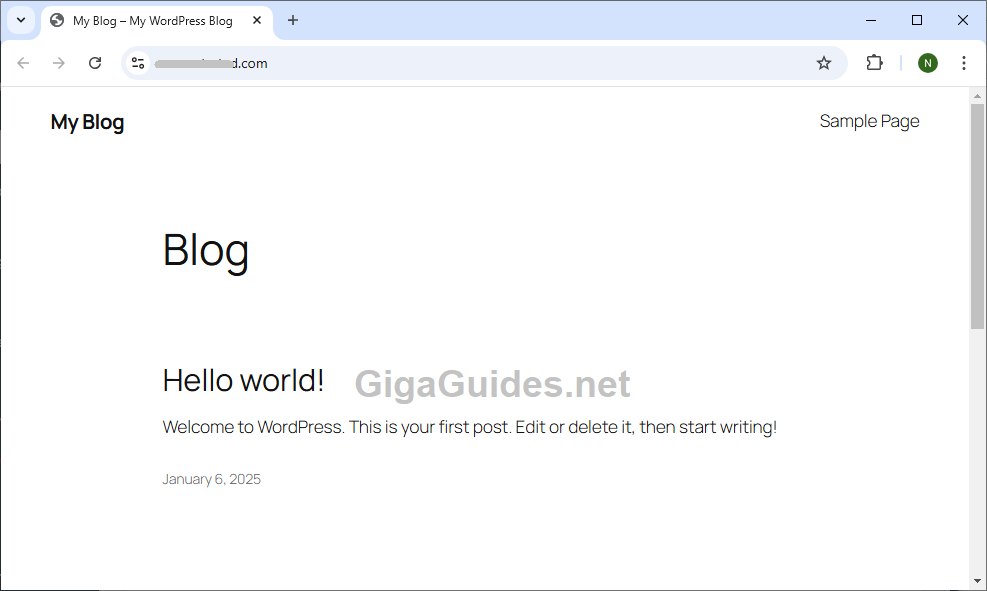
After the installation is complete, it’s recommended to click the links provided in the Congratulations message to verify that your website is live. Start by clicking the first link to view your website’s home page. You may see a page similar to the one shown below:
Next, click the second link (the administrative URL) to access your website’s admin panel (wp-admin). Enter the admin username and password you set earlier to log in. Once logged in, you should see a page similar to the one show below:
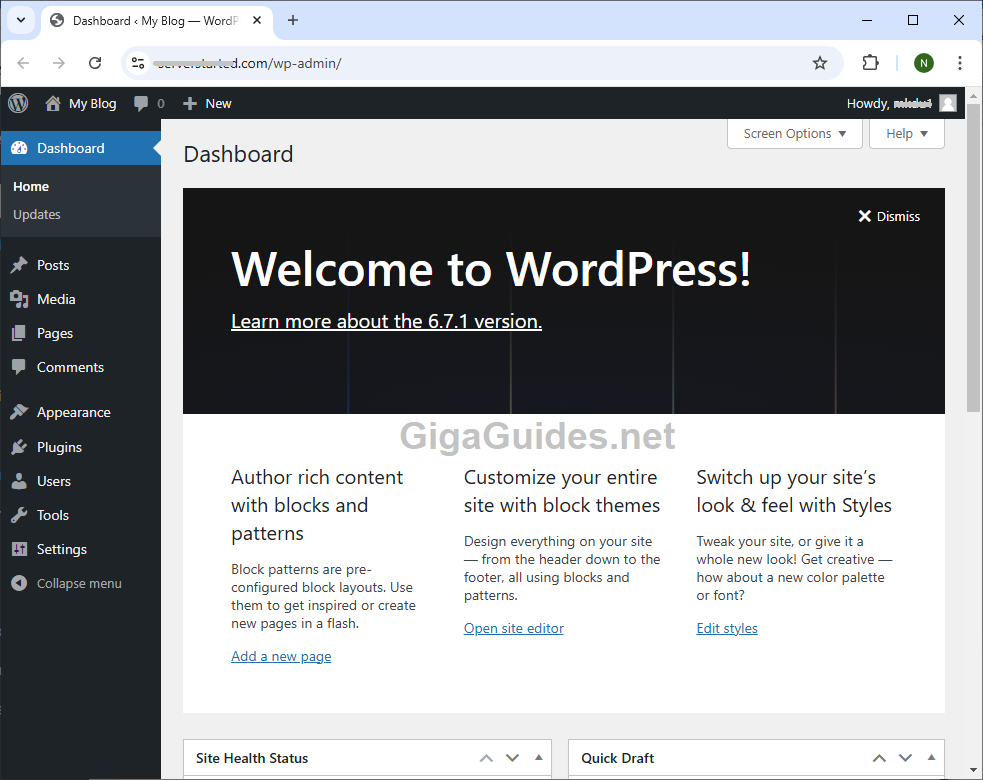
If both screens display correctly, it confirms that your website is now live and powered by WordPress – one of the world’s most popular CMS platforms. Congratulations on completing this crucial step in your online business journey.
Leave a Reply